
Recover lost and deleted data from NTFS partitions using Windows Data Recovery software
Download the free Trial Version now and get back all your lost/deleted partitions
NTFS Data Recovery
At any given point in time, there are hundreds of files that get saved on your computer. It requires an efficient mechanism for retrieval of these files in an orderly manner, and in a way that saves time. In order to make this possible, the computer makes use of a systematic method for storing these files. This systematic storage of files is called the file system. Computers running on Windows make use of two types of file systems namely NTFS and FAT file systems.
These two file systems make use of a distinct method for keeping a record of files that are stored on the computer. Data recovery under data loss situations is made easy due to these records. The file system maintains a unique entry for each file on the hard disk, which contains specific details about the region in which the file is located. In some cases, the data present on the file is scattered at different locations of the hard drive. In such cases, the file system maintains details about the location of each part of the file.
Despite being more stable than the FAT fie system, there are times when data loss cannot be prevented on NTFS file system. The large number of NTFS partition recovery software available on the internet is sure to make the search time minimal for the user but, to recover data from lost NTFS partition, this partition recovery software is the best one to get your job done in a matter of minutes. Recover Partition software lets you recover lost NTFS partition & deleted partition as well on all the versions of Windows operating systems. The Turbo Scan technology embedded in the software, makes data recovery from lost/deleted partitions, an easy task.


Step 1: Download and install the free version of Partition Recovery tool on your PC. After successful installation, launch the software. In the Main Screen, select "Recover Partitions" option. Then, the tool shows all the logical and physical disk drives available in the system. Choose the appropriate physical disk and click "Scan" option

Image 1 - Launch Pad
Step 2: Now, the tool scans the physical hard disk to find deleted, and lost partitions. Once scanning is complete, it displays a list of found partitions. Select the required NTFS partition, which you want to recover and hit "Scan" button to initiate the recovery process from a partition.
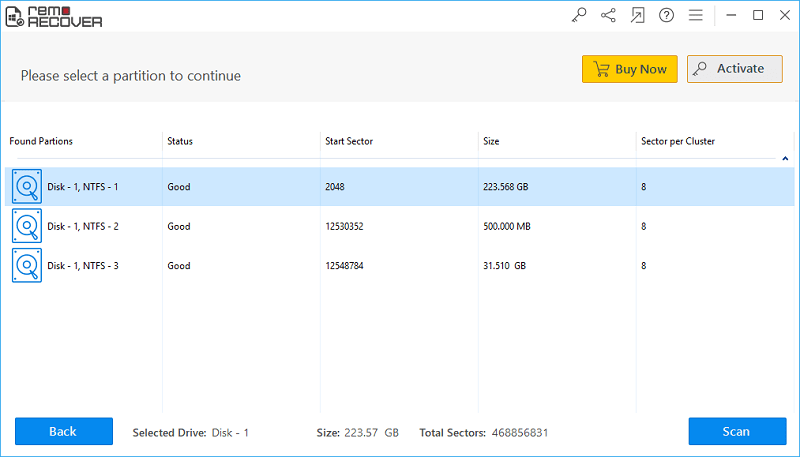
Image 2: Found Partitions
Step 3: Now, the software scans the selected NTFS partition to regain it's files back. Wait for the scanning to get complete. Upon the completion of scanning process, a list of recovered files are displayed. You can view the recovered files in Data View, and File Type View.
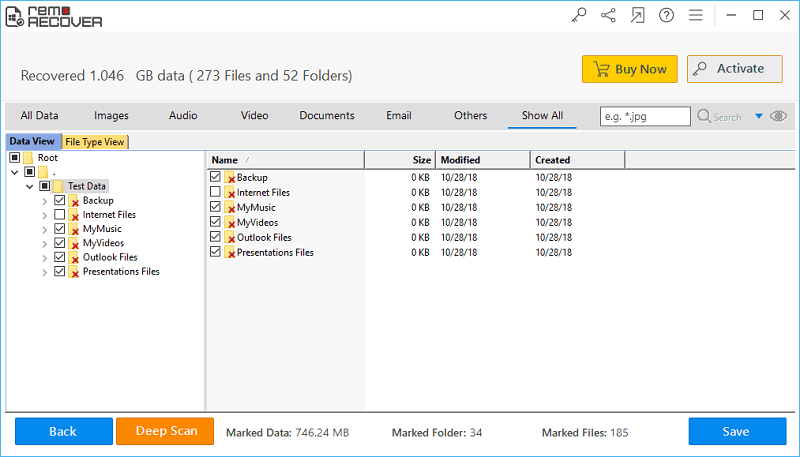
Image 3 - Recovered Data in File Type & Data Views
Step 4: Finally, at the end of recovery process, youc an preview the recoverable files by right clicking on the file and selecting Preview from the displayed options.
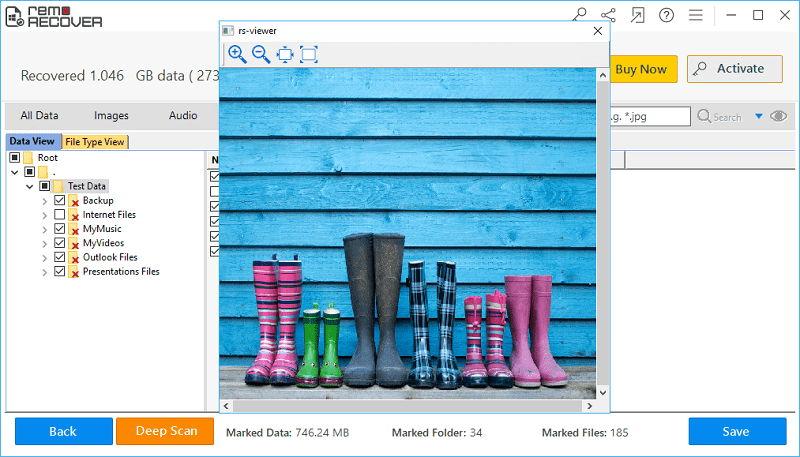
Image 4 - Preview Recovered Files
Step 5: At last, if you are satisfied with the tool, then activate the license key of the tool and select the destination drive to save the recovered files.
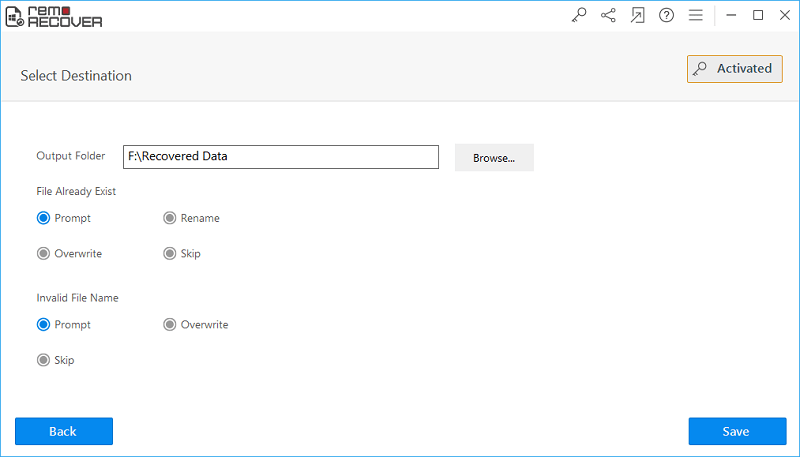
Image 5 - Save Recovered Data