Restore Reformatted Partition
Restore files from the reformatted or re-partitioned partition using this free Partition Recovery Program. Evaluate the recovery results of the software for free by downloading its trial version that offers free preview of the recovered files from the reformatted partition. So, get the free version and try now!!!
 |
 |
Reformatted Partition Recovery
Scan
Select
Recover
 |
Restore deleted data from re-formatted partitions in Windows
The multiple logical storage units on the hard disk drive known as partitions are created during the process of disk partitioning to treat one physical disk with number of divisions. The partitions on the disk may contain either NTFS (New Technology File System) or FAT (File Allocation Table). The process of re-formatting a partition includes formatting the partition along with changing the file system from Fat to NTFS.
As NTFS is the latest version of file system, it includes advanced features that overcome the features of FAT file system. Changing a file system from FAT to NFTS may lead to data loss. Accidentally formatting or re-formatting a wrong partition may result in loss of important data.
In reality, the data lost from the re-formatted partition is not deleted permanently until and unless it is over-written by new data. The data from the re-formatted partition can be restored using Recover Partition, which is one of the best tool to Recover Partition that is formatted or reformatted. The software has an advanced inbuilt algorithm that can search and restore the re-formatted data. Recover Partition software can recover files from formatted hard drive. You can recover hard drive partitions on Windows 8 and its earlier versions with this tool. This software also supports recovery of partition from Mac OS X Lion, Leopard, Snow Leopard machines with ease.
![]()
Steps to restore lost partition data from re-formatted partition:
Step 1: Download and install the free version of Partition Recovery tool on your PC. After successful installation, launch the software. In the Main Screen, select Recover Partitions option. Then, the tool shows all the logical and physical disk drives available in the system. Choose the reformatted plogical partition and click "Scan" option

Image 1 - Launch Pad
Step 2: Now, the software scans the selected partition to regain it's files back. Wait for the scanning to get complete. Upon the completion of scanning process, a list of recovered files are displayed. You can view the recovered files in Data View, and File Type View.
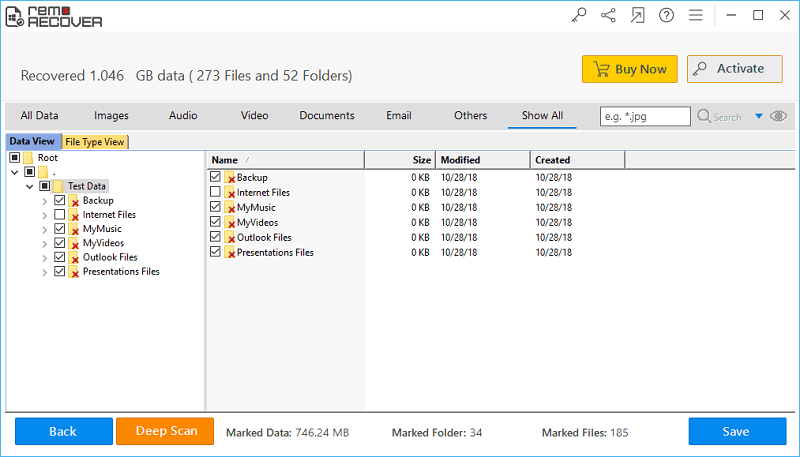
Image 2 - Recovered Data in File Type & Data Views
Step 3: Finally, at the end of recovery process, youc an preview the recoverable files by right clicking on the file and selecting Preview from the displayed options.
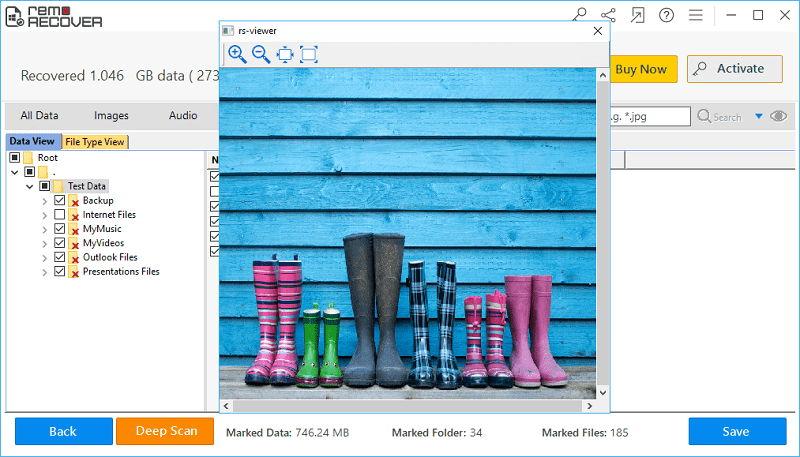
Image 3 - Preview Recovered Files
Step 4: At last, if you are satisfied with the tool, then activate the license key of the tool and select the destination drive to save the recovered files.
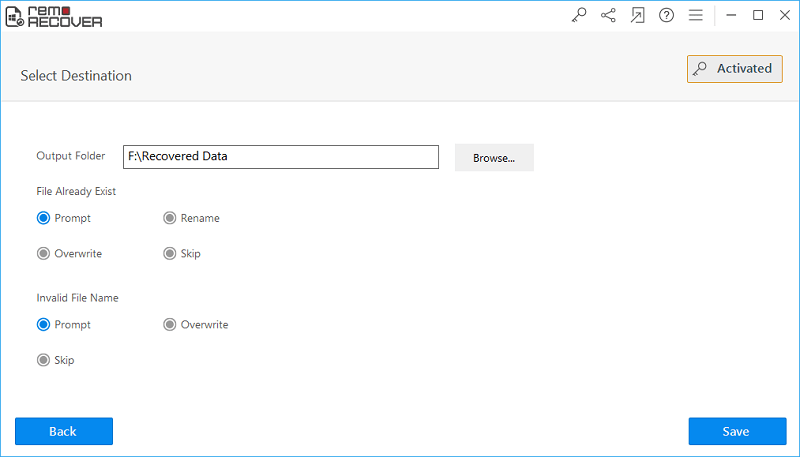
Image 4 - Save Recovered Data
![]()
![]()